Best Discounts


The best discounts this week
Every week you can find the best discounts here.
19%
Original price was: $33.00.$27.00Current price is: $27.00.
Personalized Embroidered Hat, Custom Text, Custom Logo, Custom Your Image
15%
Original price was: $14.00.$12.00Current price is: $12.00.
Personalised Vintage Cap – Custom Embroidered Unisex Cotton Dad Hat with Personalized Text
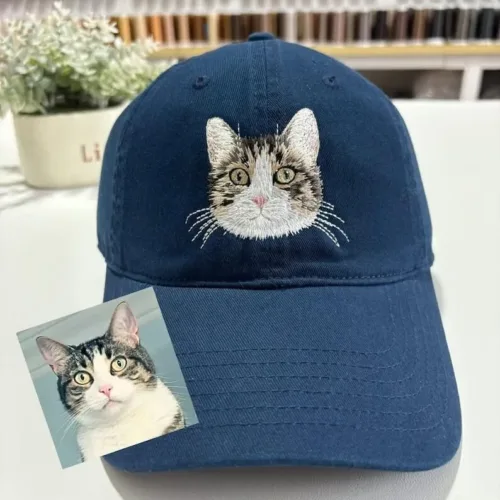
19%
Original price was: $33.00.$27.00Current price is: $27.00.
Personalized Embroidered Cat Hat, Custom Dog Hat, Custom Hat Vintage Baseball
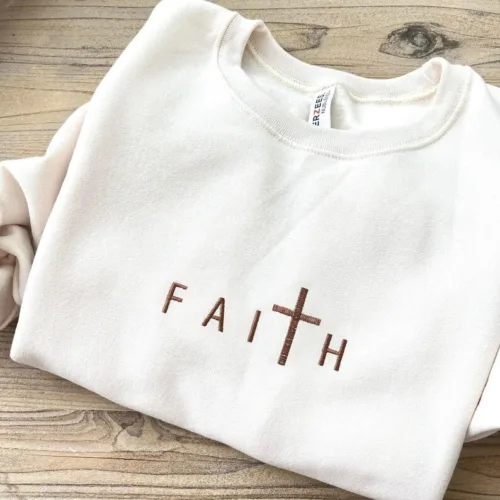
Price range: $29.00 through $45.00
Custom Embroidered FAITH Crewneck Sweatshirt
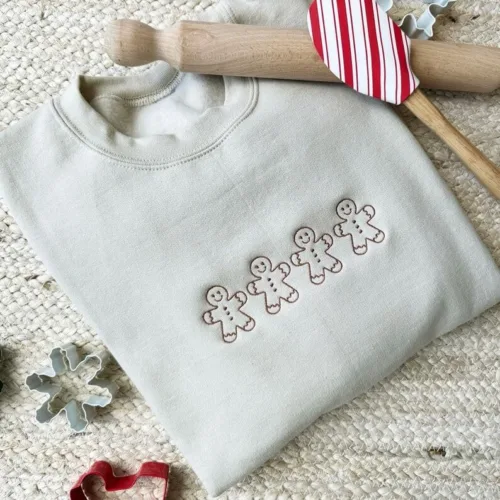
Price range: $29.00 through $45.00
Gingerbread Men Embroidered Sweatshirt
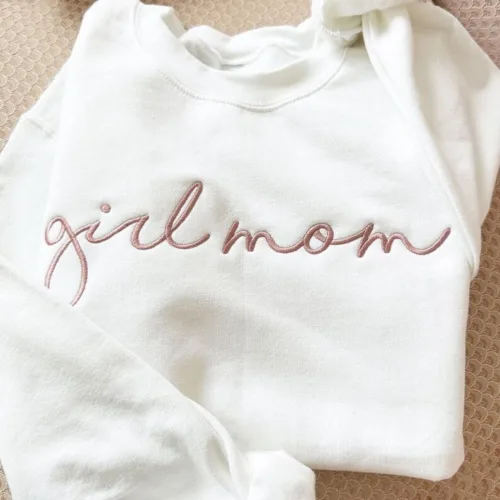
Price range: $29.00 through $45.00
Girl Mom Personalized Crewneck Sweatshirt
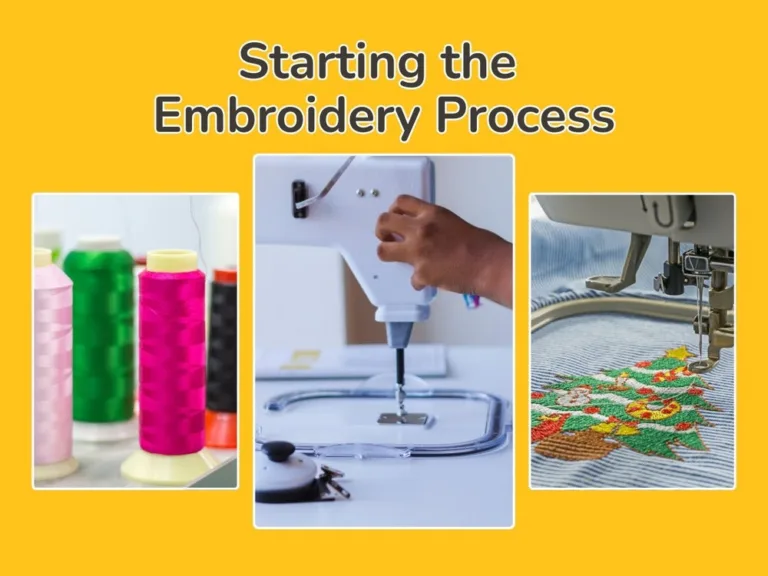
Machine Embroidery: Beginner’s Guide


Sophia Williams
Meet Sophia Williams, the 26-year-old wordsmith behind RevoGuy LLC's heartwarming content. This self-taught writer turned her passion for family stories into a career, weaving tales of love and laughter from her bustling Wyoming home office. With six years in the content creation world, Sophia has mastered the art of making Gen X and millennials alike misty-eyed over their morning coffee. When she's not crafting the perfect emotional hook, you'll find her attempting DIY projects or coaching little league. Her gift-giving advice is significantly more reliable than her home improvement skills.
Hottest Deals
-
Product on salePersonalized Embroidered Hat, Custom Text, Custom Logo, Custom Your ImageOriginal price was: $33.00.$27.00Current price is: $27.00.
-
Product on salePersonalised Vintage Cap - Custom Embroidered Unisex Cotton Dad Hat with Personalized TextOriginal price was: $14.00.$12.00Current price is: $12.00.
-
Product on salePersonalized Embroidered Cat Hat, Custom Dog Hat, Custom Hat Vintage BaseballOriginal price was: $33.00.$27.00Current price is: $27.00.
-
Product on sale
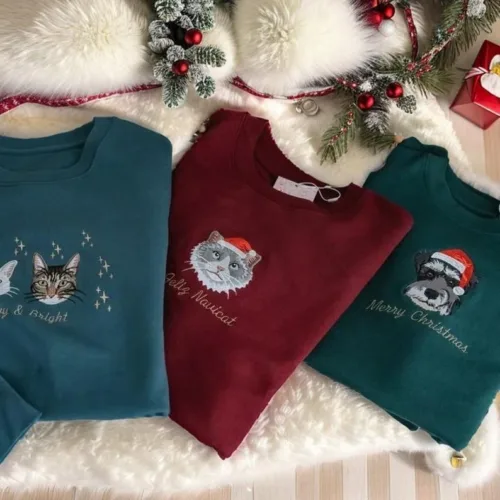 Christmas Edition Custom Pet Portrait Embroidered SweatshirtPrice range: $29.00 through $45.00